
Sometimes the simplest treats are the ones everyone reaches for first. And honestly, this dessert is just a sleeper, and I gurantee once you make them, everyone will say to you, “I forgot how much I loved Rice Krispie bars!”
These bars don’t need much fuss. But my favorite way to give this familiar treat a little something extra? Brown the butter.
These browned butter Rice Krispie bars have a rich, nutty flavor, a splash of vanilla, and extra mini marshmallows folded in at the end. And some flaky salt on top. They’re still the easy, no-bake treat we all know and love — just with a little more depth in every bite.
Why brown the butter?
As butter cooks, its water evaporates and the milk solids begin to toast. Those golden brown bits give browned butter its nutty aroma and rich flavor. It’s a simple step that makes a noticeable difference, especially in a recipe with so few ingredients.
Use a light-colored pot if you have one so you can easily see the color change. Stir frequently, scraping the bottom, and remove the pot from the heat as soon as the milk solids are golden brown and smell nutty. Keep those browned bits — they’re where so much of the flavor lives.
What makes these bars thick and gooey?
Along with the browned butter, a few details make these bars especially good.
Plenty of marshmallow. The cereal gets a generous coating of melted marshmallow to hold everything together without tasting dry.
Marshmallows in two additions. Most melt into the browned butter, while the rest get folded in at the end for soft little pockets throughout.
A smaller pan. A 9 × 9-inch pan gives this batch its thick shape. For thinner bars, spread the same recipe in a 13 × 9-inch pan.
My tips for soft Rice Krispie bars
Once the butter is browned, take the pot off the heat and let it cool briefly before adding the marshmallows. Return it to low heat only if needed to finish melting them. You want the mixture smooth without cooking it longer than necessary. And when it’s time to fill the pan, press gently! Packing the mixture down firmly makes the bars dense. Butter your hands or spatula and use just enough pressure to spread everything into the corners and level the top.
Fresh marshmallows help, too. Save the dried-out bag in the back of the pantry for another project.
Can I make these ahead?
Yes! Make them the day before you plan to serve them, let them set, and cover tightly.
Keep them at room temperature for the best texture. They’re especially good within the first couple of days, while they’re soft and gooey. Avoid refrigerating, which makes them firm.
A familiar favorite to share
These browned butter Rice Krispie bars are easy enough for an everyday treat and special enough for a birthday party or neighborhood gathering.
Cut them into generous squares or smaller bites for a dessert tray. Nothing fancy required — just something good to share and a little room around the table.
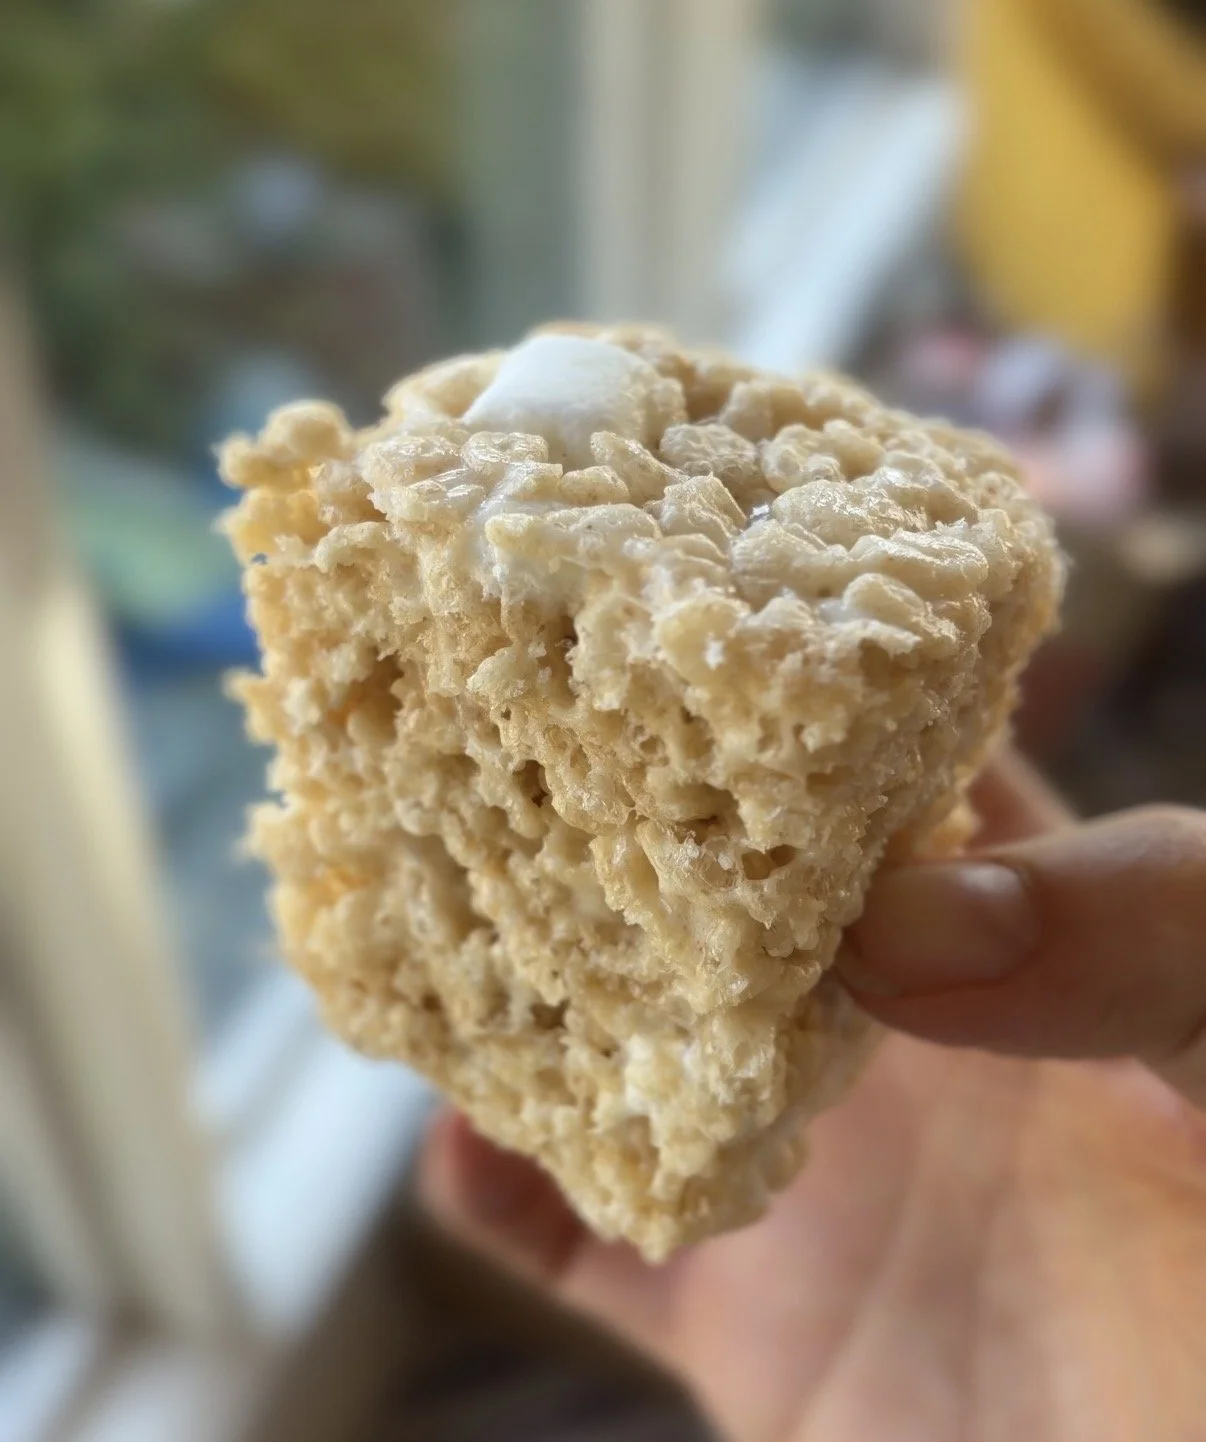
Thick, soft, and gooey Rice Krispie bars with nutty browned butter, vanilla, and extra pockets of marshmallow.
Yield: 16 bars
Pan: 9 × 9 inches
Prep time: 10 minutes
Cook time: 15 minutes
Setting time: 2 hours
Ingredients
1½ sticks salted butter (12 tablespoons)
15 ounces mini marshmallows, for melting (one of the big bags)
5 ounces mini marshmallows, reserved for folding in
1½ teaspoons vanilla extract
1/4 teaspoon fine salt
9 cups Rice Krispies cereal
Maldon flaky salt, for finishing
Instructions
Line a 9 × 9-inch pan with parchment paper, leaving an overhang on two sides. Lightly butter the parchment.
Melt the butter in a large, light-colored pot over medium-low heat. Continue cooking, stirring frequently and scraping the bottom, until the milk solids turn golden brown and the butter smells nutty. Remove from the heat immediately.
Let the butter cool for about 1 minute, then add the 15 ounces of marshmallows. Stir until melted, returning the pot to low heat briefly if needed. Remove from the heat as soon as the mixture is smooth.
Stir in the vanilla and salt, keeping all those flavorful browned butter bits in the mixture.
Gently fold in the cereal until evenly coated, then fold in the remaining 5 ounces of mini marshmallows.
Transfer to the prepared pan. Using buttered hands or a buttered spatula, gently spread into the corners and level the top. Avoid packing the mixture down firmly. Sprinkle with flaky sea salt.
Leave at room temperature for about 2 hours, or until set enough to slice. Lift out using the parchment and cut into 16 squares.
Notes
For softer bars: Use fresh marshmallows, melt them gently, and press lightly into the pan.
Pan option: Use a 13 × 9-inch pan for thinner bars.
Storage: Store airtight at room temperature for up to 3 days for the best texture. Place parchment between layers when stacking. Avoid refrigerating, which firms them up.
