
Flaky Homemade Pie Crust
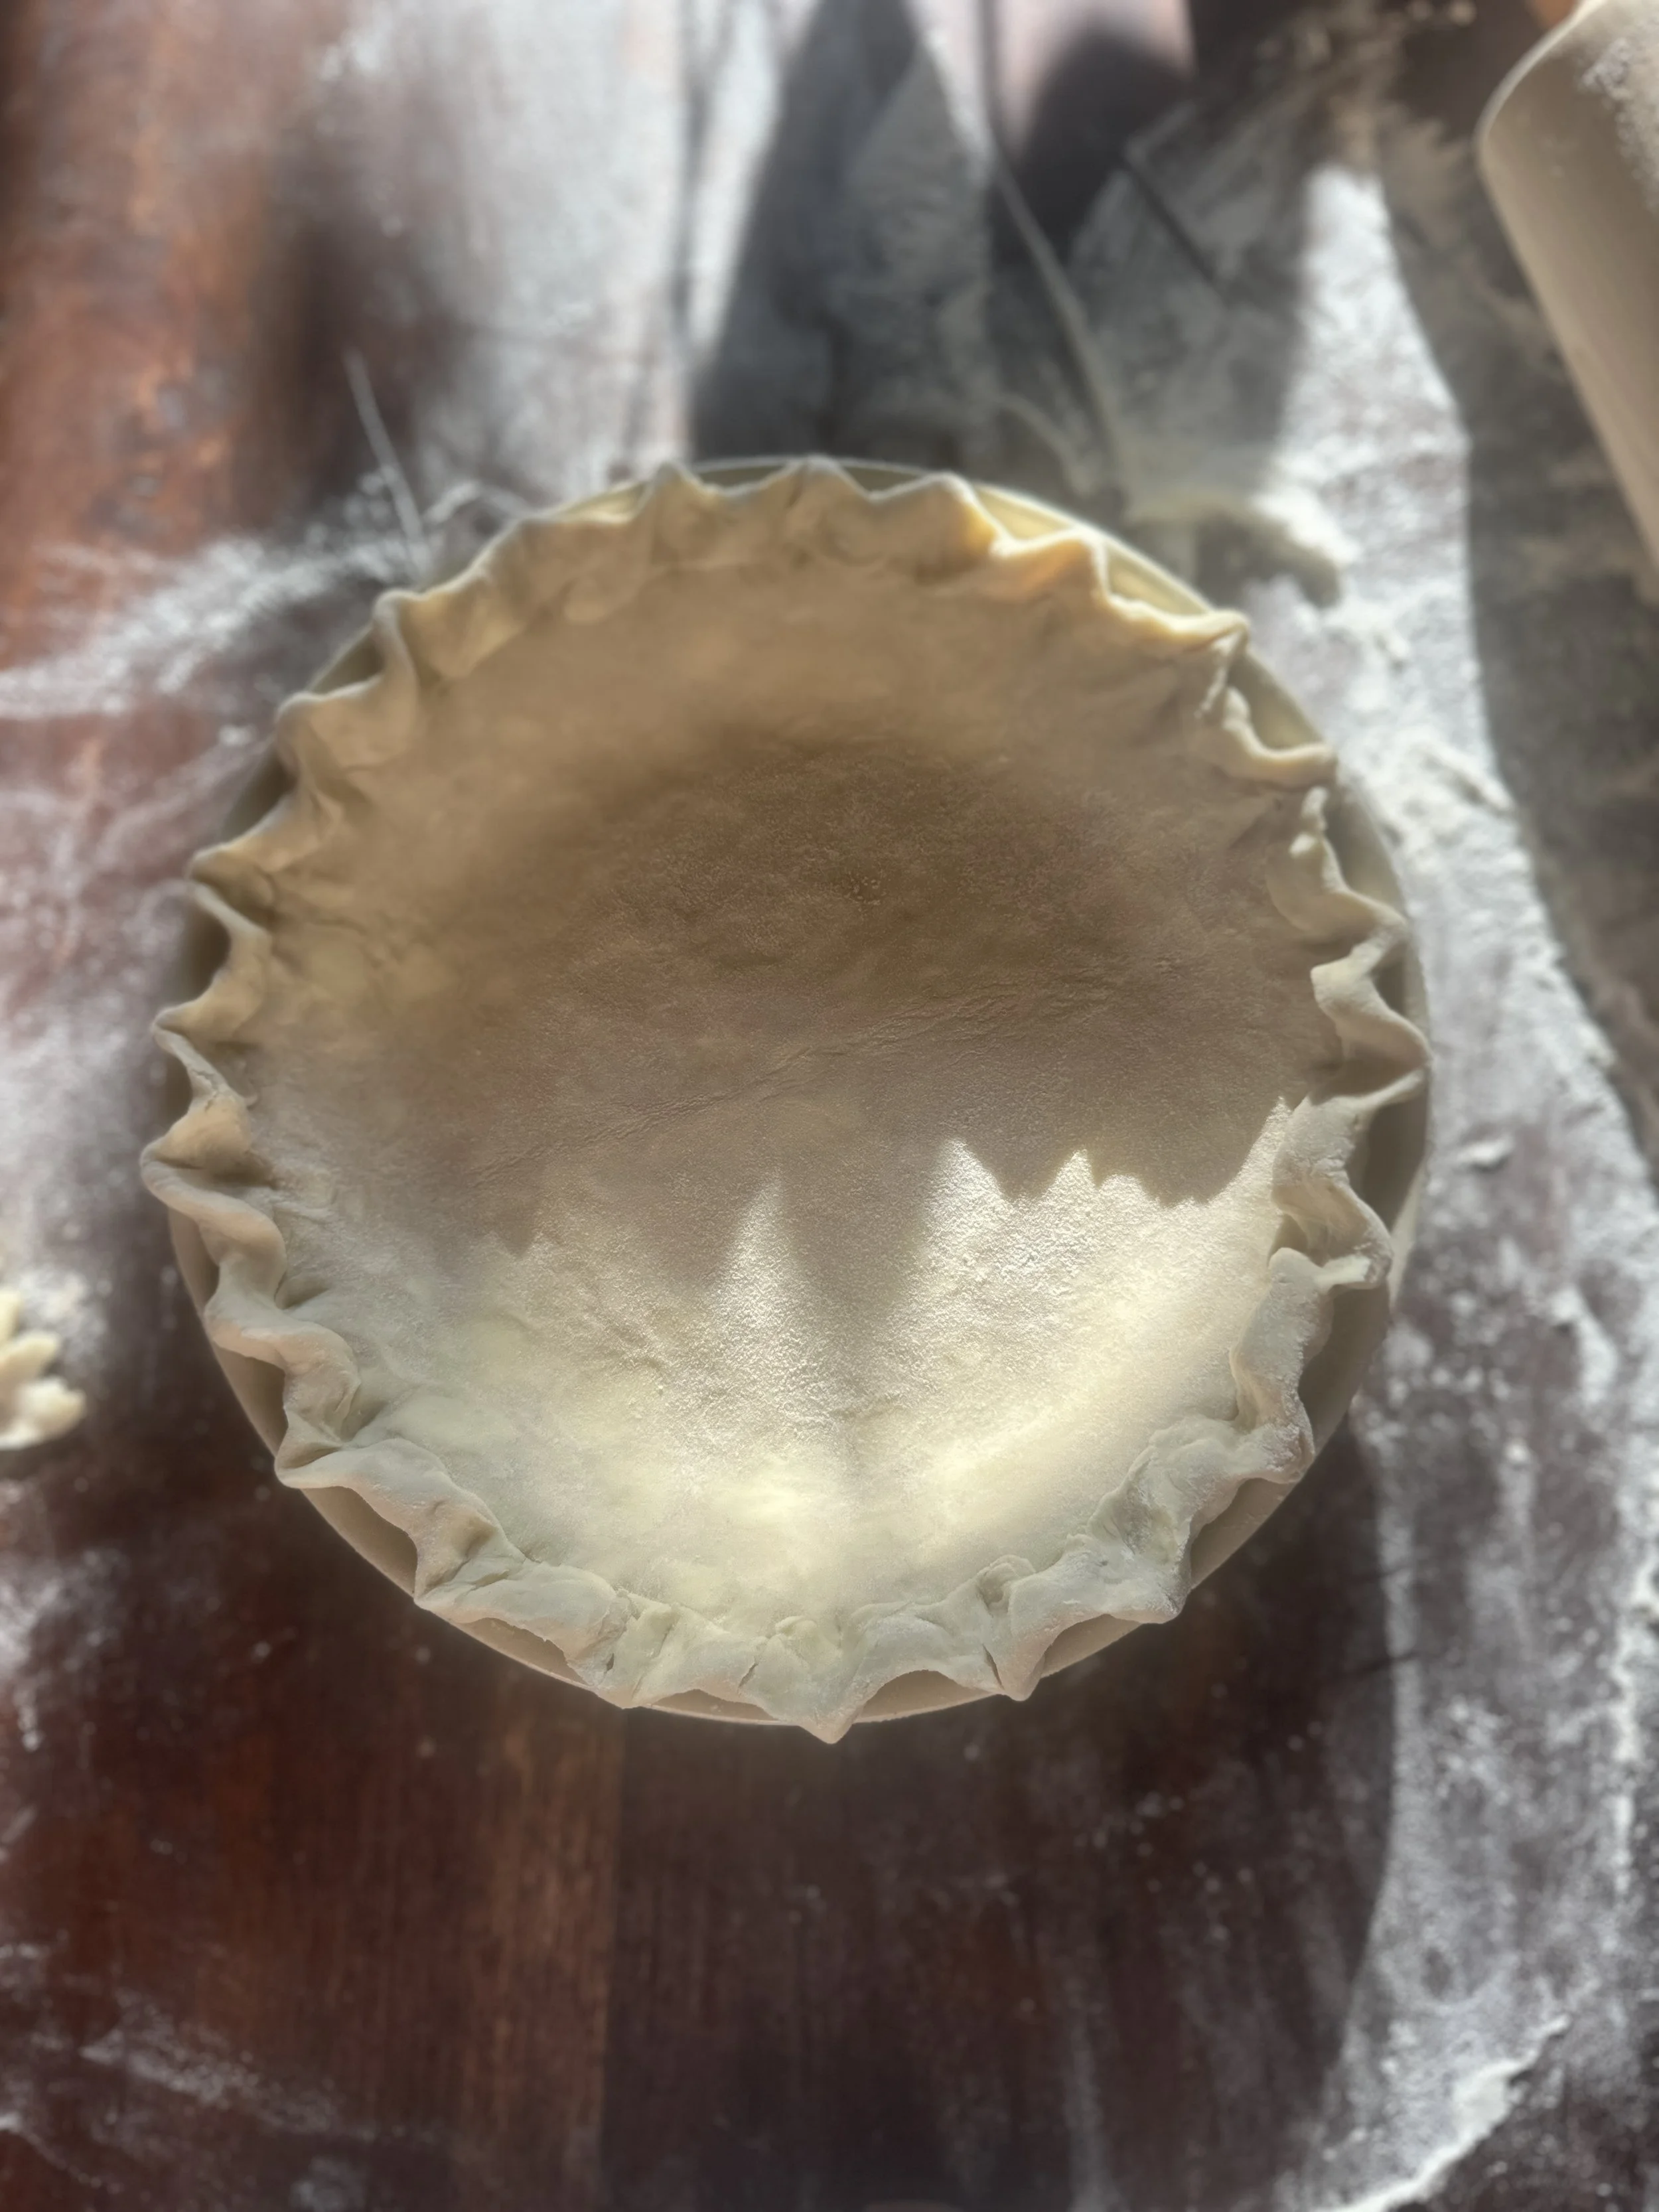
This is the recipe that started it all for me: pie crust with my grandma.
I can still picture myself standing beside her on a little stool, watching her work and listening to her hum. She taught me how to cut the fat into the flour, sprinkle in just enough cold water, and gently bring the dough together. My grandma always made her pie crust with Crisco. It was tender, flaky, and the foundation of so many pies shared around our family table.
Over the years, I’ve made the recipe my own. Most often, I use all butter because I love the flavor — and because I nearly always have butter in the refrigerator. But when I have shortening on hand, I use a combination of butter and shortening. The butter brings the flavor, while the shortening makes the dough especially tender and easy to work with.
The ingredients may have changed a little, but making it still takes me right back to her kitchen. Because when I make pie crust, I’m not only baking. I’m remembering the person who taught me that some of the best ways to love people happen in the kitchen.
I hope this recipe encourages you to bake something, invite someone over, and make a few memories of your own. 💛
Flaky Homemade Pie Crust
Makes enough for one double-crust pie or two single-crust pies.
Ingredients
2¼ cups all-purpose flour
1½ teaspoons kosher salt
1 tablespoon granulated sugar, optional
1 cup cold unsalted butter, cut into small cubes
6–8 tablespoons ice water
Butter-and-shortening option:
Replace the 1 cup butter with ½ cup cold unsalted butter and ⅓ cup cold shortening
Directions
In a large bowl, whisk together the flour, salt, and sugar.
Add the cold butter. Using a pastry cutter or your fingertips, cut the butter into the flour until the mixture contains pieces ranging from coarse crumbs to the size of small peas. Those visible pieces of butter will help create flaky layers.
Drizzle 4 tablespoons of ice water over the mixture and gently toss with a fork. Continue adding water 1 tablespoon at a time, mixing gently after each addition, just until the dough holds together when squeezed in your hand. It may still look a little shaggy; resist the urge to add too much water.
Turn the dough onto a lightly floured surface and gently bring it together. Divide it in half and shape each portion into a thick disc. Avoid kneading or overworking the dough.
Wrap the discs tightly and refrigerate for at least 1 hour or up to 3 days.
When you’re ready to bake, let the dough rest at room temperature for about 5–10 minutes, just until it is pliable enough to roll without cracking.
On a lightly floured surface, roll one disc into a circle approximately 12 inches across and about ⅛ inch thick. Rotate the dough frequently and add only enough flour to prevent sticking.
Carefully transfer the dough to a 9-inch pie plate. Add your filling and finish with the second crust, or prepare and bake the single crust according to your pie recipe.
A few things Grandma taught me:
Keep the fat and water cold.
Handle the dough gently.
Don’t add more water than you need.
Stop mixing while the dough still looks a little shaggy.
Pie is always better when it’s shared.
