
My Everyday Sourdough Bread
There is something so satisfying about pulling a beautiful loaf of sourdough from the oven. The crackly crust, the soft and chewy center, and that unmistakable sourdough flavor —I t never gets old. 🤍
I first learned to make sourdough back in 2018, and I haven’t looked back. Those early loaves were…rough. 😅 They were flat, dense, misshapen, and occasionally a combination of all three. But a friend gave me some advice I’ve never forgotten: “Eat your mistakes.”
So I did. And I kept baking.
That’s one of the best things about learning to make sourdough: even the imperfect loaves are usually still delicious toasted and covered in butter. Every loaf teaches you something, and eventually you begin to recognize what the dough needs simply by the way it looks and feels.
If homemade sourdough has been sitting on your “someday” list, this is the recipe I’ve tweaked over the years and the one I keep coming back to. It uses just five ingredients and doesn’t require a complicated routine. It’s simple, reliable, and a wonderful place to start.
The ingredients are simple. The magic is in the time.
Helpful Sourdough Tools
You don’t need a lot of fancy equipment to make sourdough, but these tools can make the process easier. All my favorite items are linked here, but here’s my list of things I use every time I bake sourdough:
Digital kitchen scale: The most accurate way to measure your ingredients and get consistent results.
Bench scraper: Helpful for dividing, lifting, and shaping sticky dough.
Flexible bowl scraper: Makes mixing, folding, and removing dough from the bowl much easier.
Banneton: Supports the shaped dough during its final proof and helps it hold its shape.
Dutch oven: Traps steam around the loaf, helping it rise and develop a crisp, deeply golden crust.
Bread lame or sharp razor: Creates clean scores that allow the bread to expand while baking.
Parchment paper: Makes it easier and safer to lower the dough into a hot Dutch oven.
Large mixing bowl: Gives the dough plenty of room to rise during bulk fermentation.
Bowl cover or plastic wrap: Prevents the dough from drying out while it rests and rises.
None of these needs to be expensive — and you can absolutely improvise. A small bowl lined with a floured tea towel can stand in for a banneton, and a sharp knife can be used in place of a bread lame.
Everyday Sourdough Bread
Ingredients
100 grams active sourdough starter
350 grams room-temperature water
50 grams whole-wheat flour
400 grams bread flour
9 grams salt
Rice flour or all-purpose flour, for dusting
Parchment paper, for baking
Directions
1. Mix the dough
Add the active sourdough starter and water to a large bowl. Use your hands or a dough whisk to mix until the starter is mostly dissolved and the water looks cloudy.
Add the whole-wheat flour, bread flour, and salt. Mix until all the flour is incorporated and no dry patches remain. The dough will look rough and feel sticky at this point — that’s okay.
Cover the bowl with a clean kitchen towel and let the dough rest for 30 minutes.
2. Strengthen the dough
After the first rest, use damp hands to gently pull the dough together and form it into a smoother ball. Transfer it to a clean bowl and let it rest for another 30 minutes.
For a loaf with a little more structure, complete three to four rounds of stretch and folds. To do this, grab one side of the dough, gently stretch it upward, and fold it over the center. Turn the bowl and repeat on the remaining sides.
Let the dough rest for 15–20 minutes between each round.
The stretch and folds are helpful, but don’t let them keep you from making the bread. If you need a more hands-off loaf, you can skip them and allow time to do most of the work.
3. Bulk ferment
Cover the bowl tightly with plastic wrap or a reusable bowl cover. Let the dough rise at room temperature for approximately 6–10 hours.
The exact amount of time will depend on the strength of your starter and the temperature of your kitchen. A warm kitchen will move the process along more quickly, while a cool kitchen will require more time.
Rather than watching only the clock, look for dough that:
Has increased in volume by approximately 50–75 percent
Looks slightly domed around the edges
Has bubbles forming along the sides or surface
Feels lighter and jiggles when the bowl is gently moved
The dough does not need to fully double in size.
4. Pre-shape the dough
Lightly flour your work surface and gently turn out the dough. Try not to press out all the air you developed during the bulk rise.
Fold the edges toward the center to create a loose round. Turn the dough seam-side down and let it rest uncovered for 10 minutes.
5. Shape and proof
Shape the dough into a tighter round by gently pulling it across the counter toward you, rotating it slightly, and repeating until the surface develops some tension.
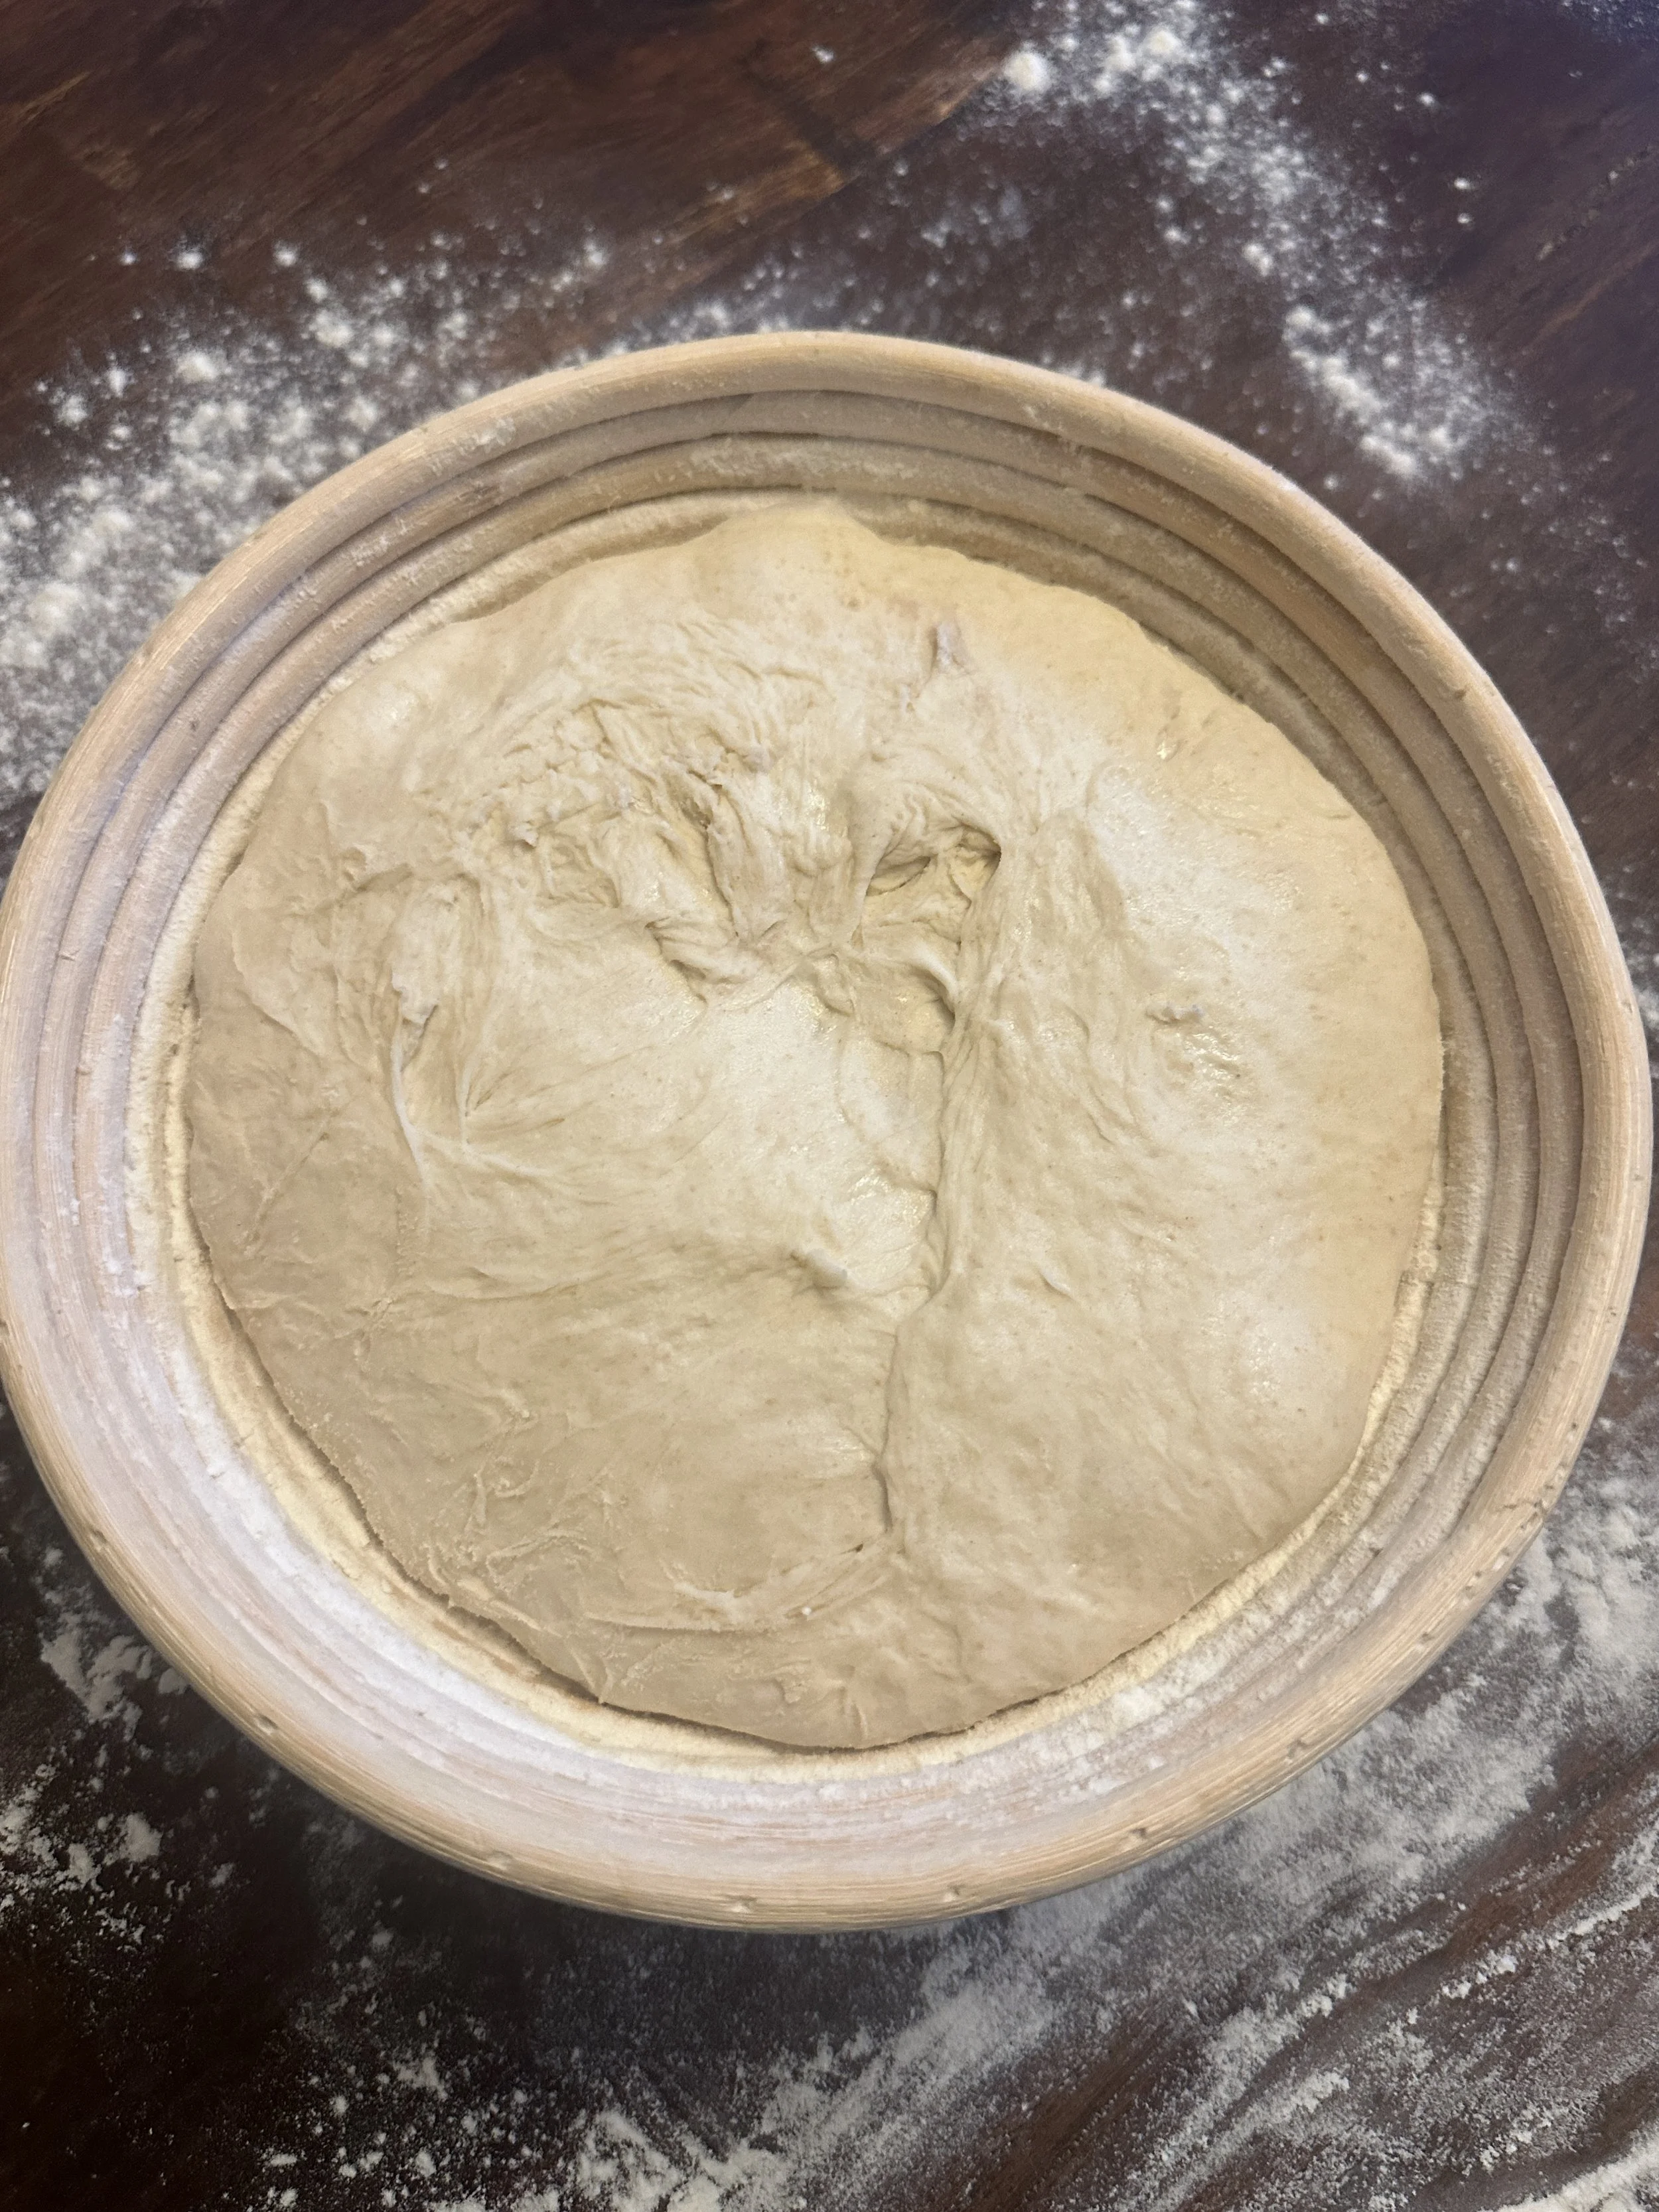
Generously flour a banneton. If you don’t have one, line a medium-sized bowl with a clean tea towel and dust it well with flour. Rice flour works especially well because it helps prevent sticking.
Place the shaped dough into the prepared basket or bowl with the seam facing up. Cover and allow it to proof at room temperature for about 1 hour.
Alternatively, cover the dough and refrigerate it overnight for 8–18 hours. A cold proof can deepen the flavor and make the loaf easier to score.
6. Preheat the oven
Place a Dutch oven with its lid inside your oven. Preheat the oven and Dutch oven to 450°F for at least 30–45 minutes.
Preheating the Dutch oven thoroughly helps the loaf rise and creates that beautiful, crisp crust.
7. Score and bake
Carefully turn the dough onto a piece of parchment paper so the smooth side is facing up.
Use a bread lame or very sharp knife to score the top of the dough. A single cut approximately ½ inch deep is all you need. This gives the bread a controlled place to expand as it bakes.
Carefully lower the dough and parchment paper into the hot Dutch oven.
Cover and bake for 30 minutes.
Remove the lid and continue baking for another 15–20 minutes, or until the crust is deeply golden brown. For the best flavor and texture, don’t be afraid to let the crust develop plenty of color.
8. Cool before slicing
Transfer the bread to a cooling rack and allow it to cool for at least 1 hour before slicing.
It will be tempting to cut into it immediately, but the inside is still finishing its work as it cools. Slicing too soon can leave the crumb gummy.
Then slice, add plenty of butter, and enjoy what you made.
Tips for Better Sourdough Bread
Start with an active starter
Your starter should be bubbly and visibly risen before you mix the dough. Ideally, use it when it is at or near its peak—after it has doubled but before it begins collapsing.
If your starter isn’t active, your dough will need significantly longer to rise and may produce a dense loaf.
Watch the dough, not just the clock
Fermentation times are estimates. Your dough may be ready sooner on a warm summer day or take several additional hours during a Minnesota winter.
Pay attention to its rise, bubbles, texture, and movement. Learning to read your dough will give you more consistent results than following the clock alone.
Use wet hands for sticky dough
This is a fairly hydrated dough, so it will naturally feel sticky. Dampen your hands before mixing, folding, or handling it instead of adding a large amount of extra flour.
Don’t wait for the dough to double
Allowing the dough to fully double during bulk fermentation can sometimes lead to an overproofed loaf, especially if it will also proof after shaping. Aim for approximately a 50–75 percent increase in volume.
Give the loaf time to cool
Cooling is part of the baking process. Waiting at least an hour before slicing allows the crumb to set and prevents a gummy interior.
Remember to eat your mistakes
Not every loaf will be perfect—and that’s completely normal. Turn a dense loaf into toast, croutons, breadcrumbs, or grilled cheese. Take note of what happened, and try again.
A Sample Overnight Sourdough Schedule
An overnight cold proof is a great option if you want to bake fresh bread the following morning.
7:00 a.m.: Feed your sourdough starter
11:00 a.m.: Mix the dough
11:30 a.m.: Form into a smoother ball
12:00–1:00 p.m.: Complete stretch and folds
1:00–7:00 p.m.: Continue bulk fermentation
7:00 p.m.: Pre-shape the dough
7:10 p.m.: Complete the final shaping
7:15 p.m.: Cover and place in the refrigerator
The following morning: Preheat the oven and Dutch oven to 450°F
Once preheated: Remove the dough from the refrigerator, score it, and bake it directly from cold
The cold dough is often easier to score, and the longer proof develops even more flavor.
