
Raspberry White Chocolate Scones
White chocolate + raspberries = the perfect scone.
I hadn't made these in a while, and goodness, I forgot how good they are. You get tart little pockets of raspberry throughout the scone with just enough sweetness from the white chocolate. It's such a good combination. And if you've been around here for any length of time, you know I have opinions about scones. 😂
A good scone should have a crisp, golden outside and a soft, tender inside. It should be buttery and flaky — never dry or cakey. These raspberry white chocolate scones check all the boxes.
The secret is starting with frozen raspberries and handling the dough as gently as possible. The berries will break up a bit as you shape the dough, so don't panic when your beautiful scone dough starts looking a little rustic...and pink. That's exactly what we want.
Cold dough, minimal handling, and a quick trip to the freezer before baking help give these scones that crisp outside and soft, buttery middle.
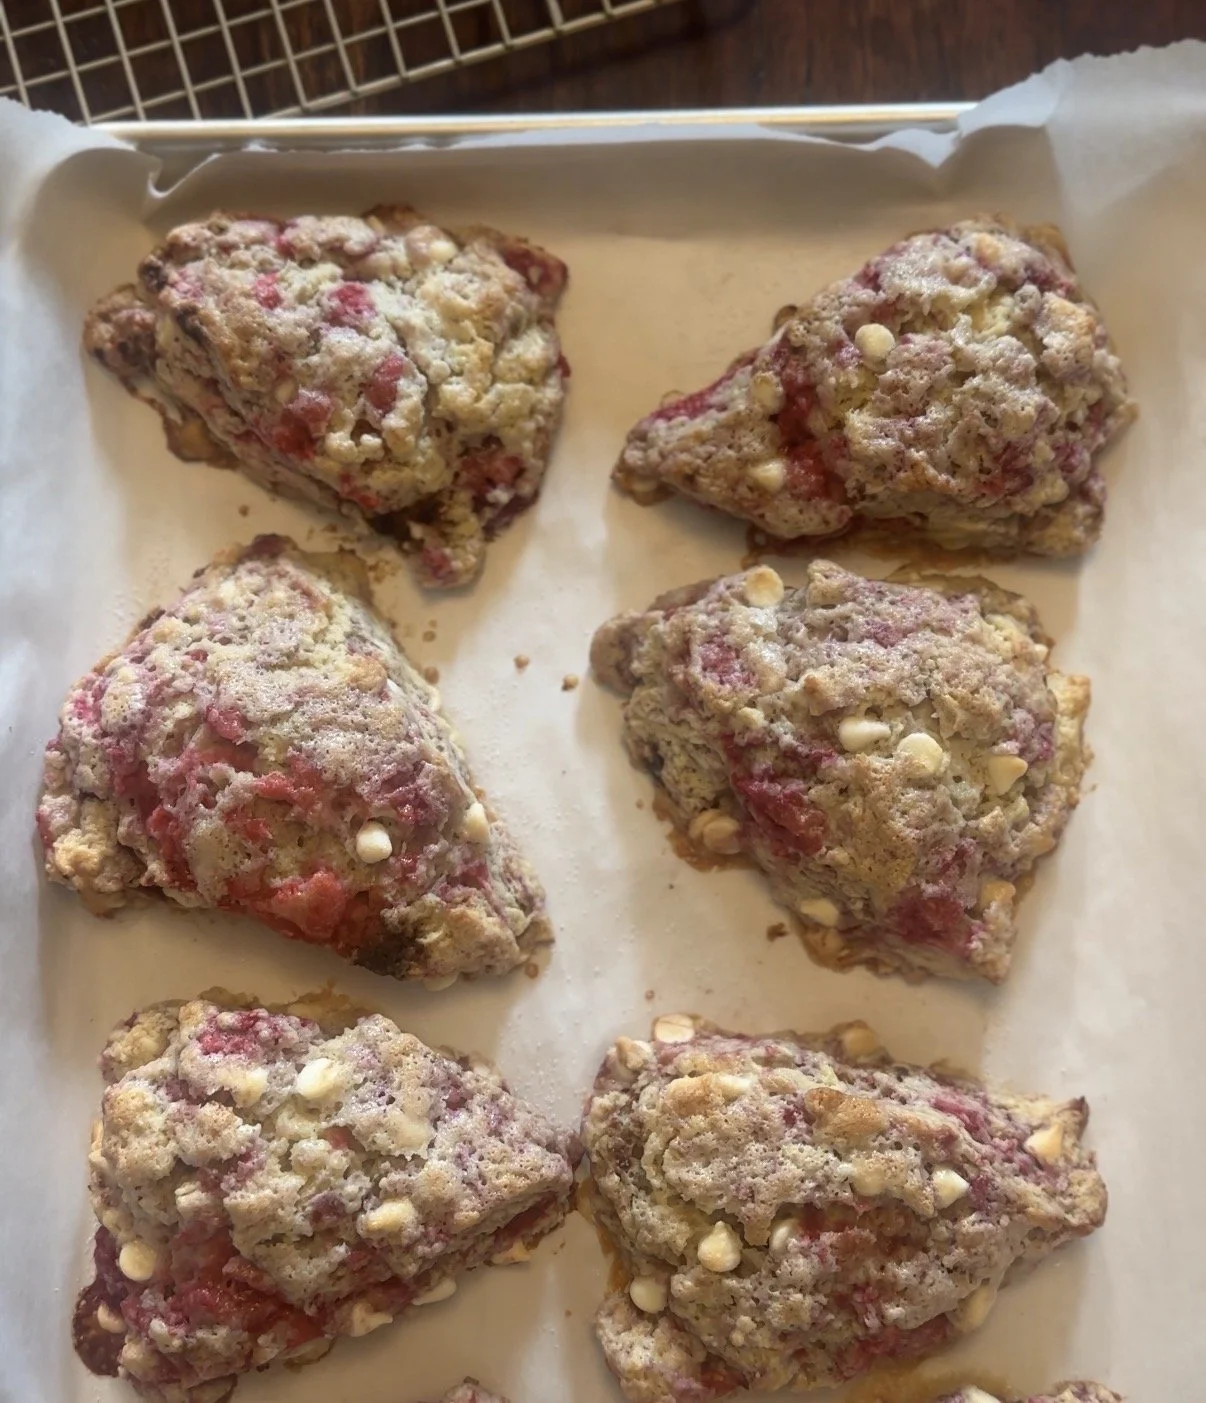
Raspberry White Chocolate Scones
Makes 8 scones
Ingredients
2¼ cups all-purpose flour
⅓ cup granulated sugar
1 tablespoon baking powder
½ teaspoon salt
10 tablespoons cold unsalted butter, cubed
1 large egg
½ cup heavy cream, plus more for brushing
1 teaspoon vanilla extract
⅔ cup white chocolate chips
1½ cups frozen raspberries
Granulated or coarse sugar for topping, optional
Instructions
Preheat the oven to 425°F and line a baking sheet with parchment paper.
In a large bowl, whisk together the flour, sugar, baking powder, and salt.
Add the cold, cubed butter. Cut it into the dry ingredients using a pastry cutter or your fingertips until the mixture is crumbly with pea-sized pieces of butter still remaining. Those little pockets of cold butter are a good thing!
In a separate bowl or measuring cup, whisk together the egg, ½ cup heavy cream, and vanilla.
Pour the wet ingredients into the flour mixture and stir gently until the dough is almost combined.
Add the white chocolate chips, followed by the frozen raspberries. Gently fold everything together, being careful not to overwork the dough or completely crush the berries. Some of the raspberries will break and streak the dough pink — that's okay.
Turn the dough onto a lightly floured surface. Using your hands, gently bring it together and shape it into a circle about 1½ inches thick. Cut into 8 wedges and transfer the scones to the prepared baking sheet.
Freeze the shaped scones for 15 minutes. Don't skip this step! It helps the butter and dough get nice and cold again before they hit the hot oven.
Brush the tops with heavy cream and sprinkle with sugar, if desired.
Bake at 425°F for 12 minutes, then lower the oven temperature to 375°F without removing the scones. Continue baking for another 10–12 minutes, or until the tops and edges are golden and the centers are baked through.
Let them cool slightly before digging in.
Why Frozen Raspberries?
Fresh raspberries are delicious, but they're incredibly delicate. By the time you've mixed and shaped your scones, they can easily turn into raspberry purée.
Frozen berries hold their shape a little longer while you're working with the dough. They'll still break apart some — and you'll probably have some pink streaks throughout your scones — but that's part of what makes these so good.
Keep the raspberries frozen until the moment you're ready to add them to the dough.
My Tips for Better Scones
Keep everything cold. Cold butter creates little pockets of steam as the scones bake, which helps give you those flaky layers and a tender interior.
Don't overwork the dough. Mix and shape only as much as you need to bring everything together. Rustic-looking scones are better than overworked ones.
Freeze before baking. That 15-minute freezer rest gets the butter cold again after you've handled the dough. It's one of my favorite tricks for a crisp outside and soft, tender middle.
Start with a hot oven. The initial blast of high heat helps the scones rise quickly and sets the exterior. Lowering the temperature partway through gives the centers time to finish baking without over-browning the outside.
